How AI Guided My Alternator Teardown (From Engine Sound Check to Full Rebuild)
It started with a high-pitched whine coming from under the hood. Instead of guessing or replacing random parts, I ran a quick engine sound check using an engine sound diagnostic AI. The car noise identifier online pointed straight to a failing alternator bearing.
Before tearing down the engine or buying replacement parts, I always run a quick audio check using our free car noise diagnostic tool to pinpoint the exact issue in seconds.
Knowing the culprit, I pulled the Delco Remy alternator out of the car. But immediately, I ran into a classic DIY roadblock: I didn’t have an impact wrench or a bench vise to remove the stubborn pulley nut.
Since an AI car sound diagnosis tool had already successfully diagnosed the problem, I decided to see if AI could also act as my repair manual. I described my limited tools to my AI assistant. Here is the step-by-step breakdown of how AI guided me through a complete alternator teardown.
⚠️ Disclaimer and Safety Warning
Please note: This article documents a personal garage experiment testing AI-generated advice. Any automotive electrical or mechanical work is performed at your own risk. Always wear safety glasses and gloves. Follow safety protocols recommended byASEandOSHA auto repair standards.
Preparation: Soaking the Hardware
Following the AI’s first rule of rust management, I heavily coated the pulley threads and case seams with a rust penetrant spray. I let it sit for 15 minutes before applying any torque.
Step 1: Removing the Pulley Nut Without an Impact Gun
If you try to turn the nut with a standard ratchet, the entire rotor simply spins. The AI offered three potential workarounds to bypass the need for professional garage equipment.
| AI-Suggested Method | Required Tools | Risk of Damage | My Test Result |
| 1. The Kinetic Strike | Rigid breaker bar, socket, heavy hammer | Low (if struck squarely) | Worked perfectly. This broke the nut loose. |
| 2. The Belt Snare | Old drive belt, pipe wrench | Minimal | Viable, but awkward without a second pair of hands. |
| 3. Center Shaft Lock | Offset box wrench, Hex/Torx bit | Zero | The most “correct” engineering method, assuming your shaft has splines. |
How I Executed the Kinetic Strike:
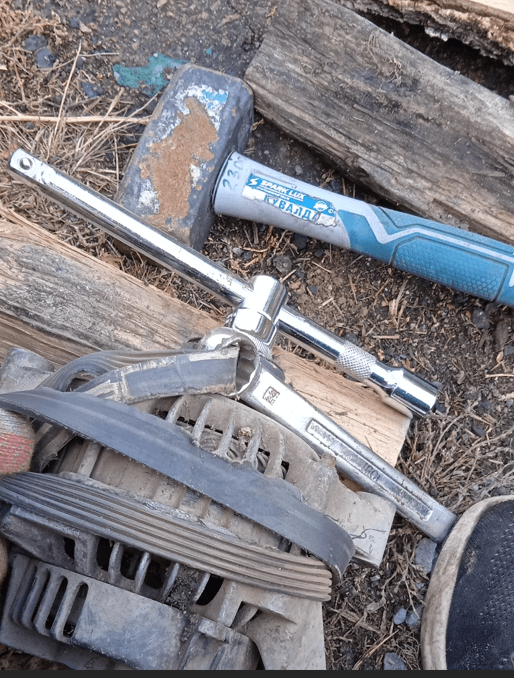
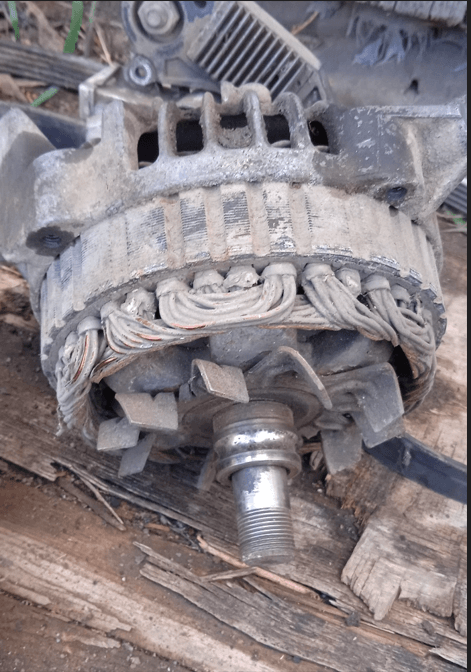
I placed the alternator flat on a couple of wooden blocks to ensure the plastic rear cover and electrical contacts wouldn’t get crushed against the ground. I attached a socket to a solid breaker bar—the AI explicitly warned me not to use a ratcheting handle, as the internal gears would shatter from the impact.
Holding the alternator body down with one hand, I delivered a sharp, heavy strike to the breaker bar handle (counter-clockwise) using a heavy hammer. The inertia of the heavy internal rotor acted as an anvil, and the nut broke free instantly.
Step 2: Splitting the Case and Protecting the Brushes
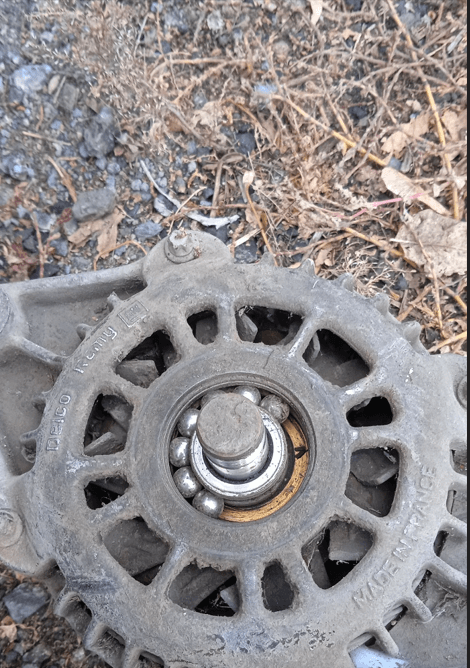
With the pulley removed, the AI provided the sequence for splitting the Delco Remy housing to access the noisy bearing:
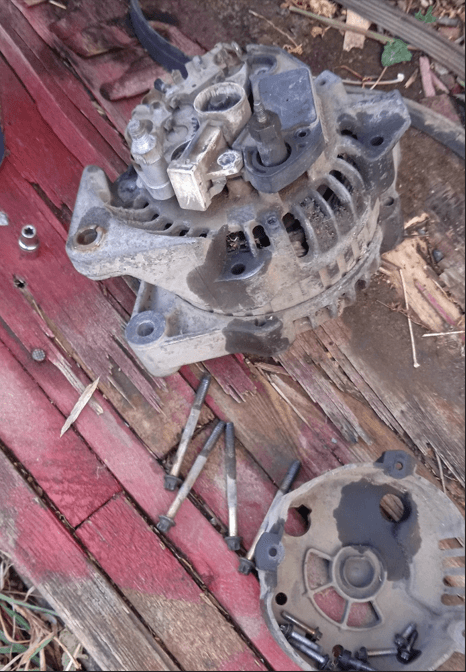
- Rear Cover Removal: I unbolted the contact nuts and removed the black plastic protective shield from the rear.
- Through-Bolts: The AI directed me to locate and extract the long through-bolts holding the two aluminum case halves together.
- Brush Assembly Warning: The AI issued a critical warning here: before pulling the halves apart, ensure the brushes are removed or retracted. Forcing the rotor out with the brushes fully extended will snap them against the slip rings.
Step 3: Freeing a Stuck Rotor (The AI Trick)
Even with all bolts removed, the case split slightly, but the rotor was seized inside the stator. Pulling by hand wasn’t enough.
I asked the AI: “The rotor is stuck, what’s the next move?”
The AI immediately warned me against prying with a screwdriver between the stator windings, which is a common way to destroy an alternator. Instead, it provided this trick:
“Do not force it. Grab the rotor shaft and pull it toward you while gently twisting it left and right. If the bearing is stubborn, use a wooden mallet to lightly tap the rear end of the shaft while maintaining pulling pressure.”
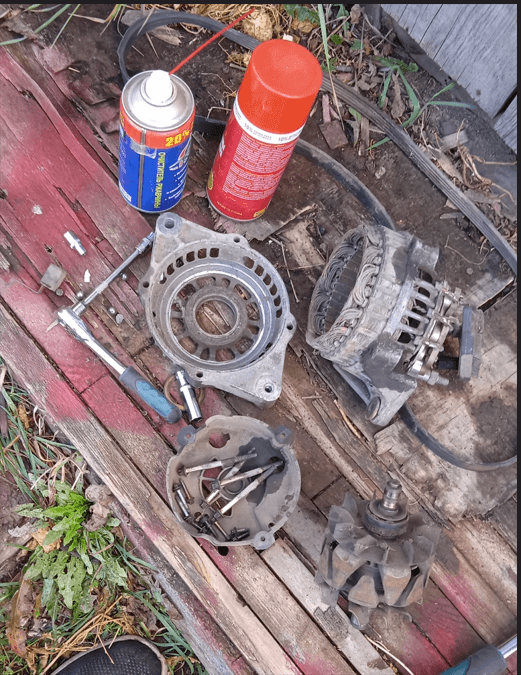
I followed the instructions. The slight twisting motion broke the bond of the oxidation. After a couple of light taps on the rear shaft, the rotor and cooling fan slid smoothly out of the housing.
The Verdict: The Ultimate Car Noise Diagnostic Tool
The experiment was a complete success. Thanks to the AI’s guidance, the worn front bearing—which the engine sound diagnosis app originally flagged—was finally exposed and ready for replacement. I completely stripped the alternator with zero damage and minimal tools.
It turns out that AI is revolutionizing the DIY garage. Next time you hear a strange tick, knock, or whine, don’t guess. Use a car noise diagnostic tool to pinpoint the issue first, and then let AI guide your wrench during the teardown.