How to Cut Particle Board Without Chipping: DIY Subwoofer Box & Edge Banding Hack
cut particle board without chipping. Building a custom audio setup doesn’t require a $10,000 professional workshop. By combining modern AI calculation tools with clever garage hacks, you can achieve factory-level results. In this guide, our AI assistant, Irina, handles the acoustic math, while we tackle the physical engineering—specifically, how to work with laminated particle board without destroying it.
Safety Disclaimer: Workshop tools do not care about your deadlines or your fingers. Always wear ANSI-approved safety glasses, use push sticks, and keep your hands well away from the circular saw blade. This guide assumes you understand basic power tool safety. If you don’t, please review safety guidelines from authoritative sources likeFamily Handymanbefore powering on any equipment. Proceed at your own risk.
DIY Subwoofer Box: Particle Board vs. MDF
When planning a diy subwoofer box particle board vs mdf is the classic debate. While Medium Density Fiberboard (MDF) is the industry standard for audio enclosures, Laminated Particle Board (also known as Chipboard or LDSP) is highly accessible, affordable, and already has a finished aesthetic.
Here is the breakdown of why we chose laminated particle board for this project:
| Feature | MDF (Medium Density Fiberboard) | Laminated Particle Board (LDSP) |
| Density & Acoustic Deadness | Excellent. Very dense, minimal resonance. | Good. Sufficient for most home and car audio setups. |
| Moisture Resistance | Poor. Swells significantly if exposed to water. | Moderate. The melamine lamination protects the surface. |
| Cost & Availability | Moderate to High. Needs painting/finishing. | Low. Comes pre-finished in various colors/textures. |
| Machinability | Easy to cut, creates fine, hazardous dust. | Prone to chipping; requires specific cutting techniques. |
Step 1: The AI Blueprint
Before cutting anything, you need perfect dimensions. Our AI assistant, Irina, calculates the optimal internal acoustic volume based on the specific Thiele/Small parameters of your subwoofer driver. Once the volume is locked in, Irina generates a precise cut list, maximizing the yield from a single sheet of particle board and minimizing waste.
“To see exactly how our assistant Irina calculates these perfect dimensions and minimizes waste, read our full breakdown on AI-generated material layout and cutting optimization.”
With the math perfectly executed in the digital realm, it is time to move into the garage.
Step 2: The Easiest Way to Cut Particle Board Without Chipping
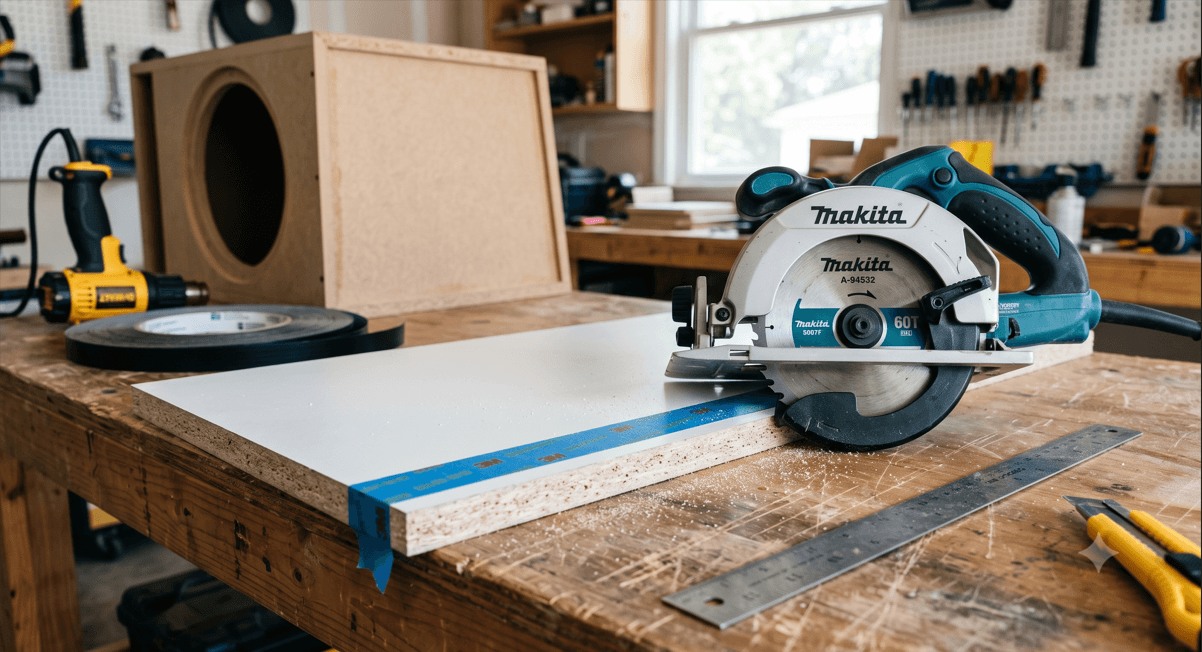
Laminated chipboard is notorious for splintering along the cut line. If you are wondering how to prevent tear out when cutting particle board, the secret lies in preparation, not just an expensive blade.
Here is the best way to cut laminated chipboard at home using tools you already own.
- Measure and Score: Mark your cut line. Using a metal straightedge and a sharp utility knife, score deeply through the top melamine layer.
- Apply Masking Tape: This is the ultimate clean cut particle board circular saw trick. Apply a strip of high-quality, transparent or standard masking tape directly over your scored line. Press it down firmly.
- The Cut: Cutting melamine board cleanly with masking tape provides essential support to the brittle surface fibers as the saw teeth exit the material. Set your circular saw blade depth so it barely protrudes below the material.
- Smooth Finish: Make the pass slowly and steadily. This combination of scoring and taping is the easiest way to cut particle board while keeping the edges pristine.
By following this method, you solve the age-old problem of how to stop particle board from crumbling during a build.
Step 3: The “Thermal Transfer” Edge Banding Hack
Once you have perfectly clean cuts, the raw edges must be sealed. Professional cabinet makers use automated edgebanders to apply thick, durable 2mm PVC edging. But applying 2mm pvc edge banding at home without professional machinery is possible with a clever workaround.
You cannot simply iron on 2mm PVC—it won’t melt properly, and standard adhesives won’t hold. Instead, we use a two-step thermal transfer method.
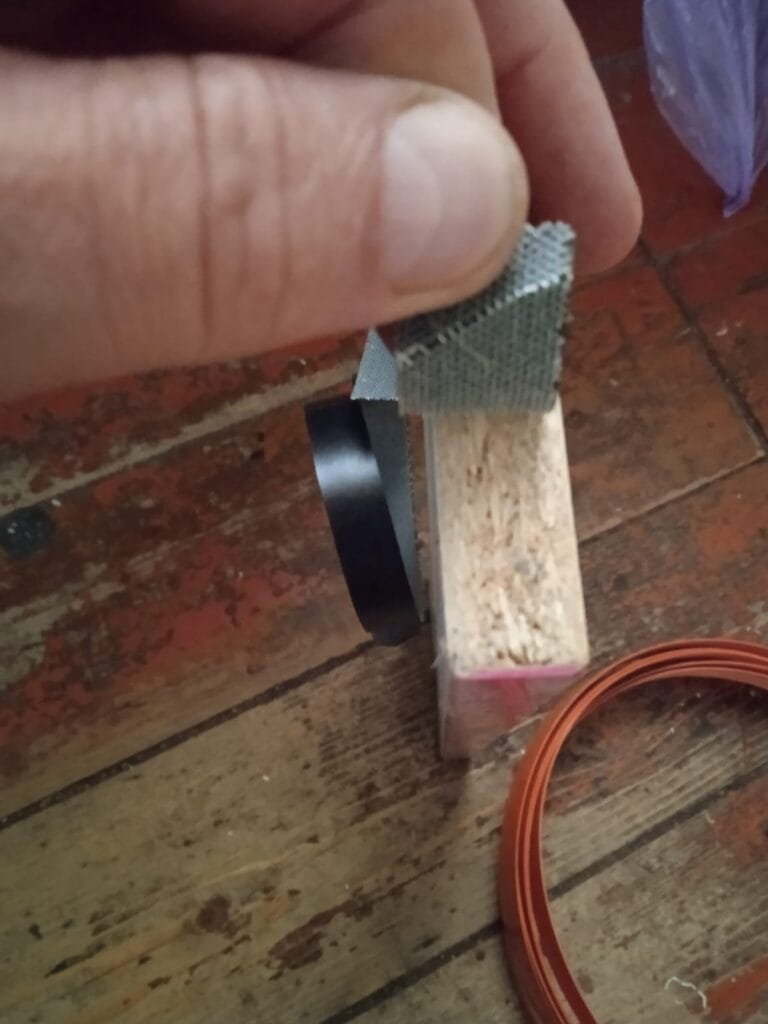
How to Transfer Glue from Melamine to Particle Board Edge
This hack utilizes cheap, pre-glued melamine edge banding as a “glue donor.”
- Position the Melamine: Place a strip of cheap, pre-glued melamine edging directly against the raw edge of your particle board.
- Heat and Transfer: Use a heavy-duty heat gun (like those reviewed by Bob Vila) to thoroughly heat the melamine strip. Press it firmly against the board.
- The Crucial Step: Do not leave the melamine on. While it is still hot, quickly peel the paper melamine layer away. The goal is to transfer glue from melamine to particle board edge. The adhesive melts and stays bonded to the raw chipboard, not the removed melamine paper.
- Apply the PVC: Immediately take your heavy-duty 2mm PVC edge banding and press it aggressively onto the hot, glued edge of the particle board. Use a hard roller or a wooden block to apply maximum pressure until it cools and sets.
- Trim: Once completely cooled, trim the excess PVC overhang with a sharp knife or edge trimmer.
This process permanently welds the heavy-duty PVC to the board, giving your DIY subwoofer box a professional, indestructible finish that bridges the gap between digital AI precision and hardcore garage engineering.
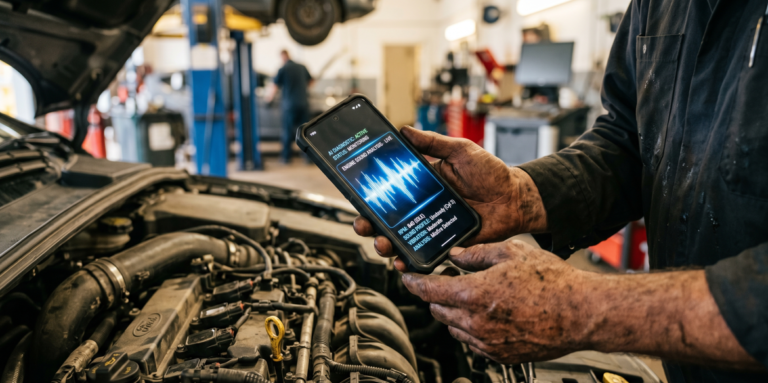
“If you are fascinated by how sound frequencies can be used in the workshop, check out how we use our AI system for automated engine sound diagnostics to detect mechanical anomalies.”