Gas Tank Repair Without Removal: AI Theory vs. Old-School Soap & Epoxy Hack
SoftHunterPro Technical Disclaimer: Warning! Working with fuel systems and gasoline vapors involves a high risk of fire. The method described below is an emergency repair hack based on personal practical experience. For massive structural damage, full tank replacement is strictly recommended. Always followOSHA Fire Safety Guidelines for Flammable Liquidswhen working under your vehicle.
Affiliate Disclosure: Our testing lab is reader-supported. If you purchase through links on our site, we may earn an affiliate commission at no extra cost to you. This keeps our hands-on tests running.
Gas Tank Repair Without Removal. Hi, this is Oleg at the SoftHunterPro testing ground. In the world of perfect algorithms, AI always tells you to do things strictly “by the book.” When I asked my AI assistant how to patch a leak in an old car’s gas tank, it gave me the textbook answer: drain all the fuel, drop the tank, purge the vapors, and TIG weld the hole.
In a perfect world, that’s the only right answer. But in a real garage, when your tank is actively leaking and you have neither the time nor a hydraulic lift, engineering ingenuity takes over. Today, we are testing a hardcore mechanic’s hack: stopping a live fuel leak with a basic bar of soap, then armor-plating it with a two-part epoxy and cotton cloth. Let’s see what works better: academic AI advice or raw, under-the-car reality.
The Matchup: AI Theory vs. Garage Reality
Here is how the algorithm’s baseline theory compares to our hands-on, quick-fix method.
| Repair Stage | AI Recommendation (Theory) | Practical Method (SoftHunterPro) |
| Stopping the Leak | Drain the tank completely and let it dry out. | Rub heavy-duty bar soap directly into the puncture (soap does not dissolve in gasoline). |
| Surface Prep | Use specialized automotive chemical degreasers. | Scuff with coarse sandpaper and locally wipe around the soap plug. |
| Main Sealant | Argon welding or industrial-grade metal resin. | J-B Weld Cold Weld Formula (The US garage standard for cold welding). |
| Reinforcement | Factory-spec fiberglass patching kits. | A piece of heavy cotton cloth soaked in epoxy. |
Step-by-Step Guide: The Patch That Takes a Beating
Here is how this process looks in the real world. (Note: Step-by-step photos of the process will be placed here).
Step 1: Emergency Fuel Stop with Soap
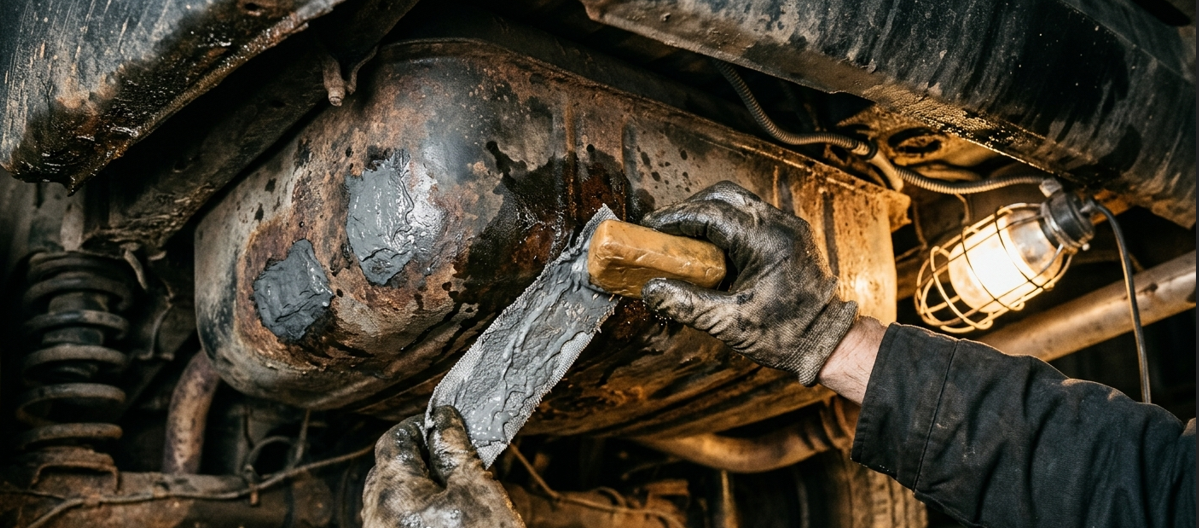
Gasoline is pouring out, and no epoxy in the world will stick to a wet surface. The old-school mechanic’s secret relies on basic chemistry: take a solid bar of heavy-duty soap and forcefully rub it over the crack or pinhole. The trick here is that standard bar soap is completely insoluble in hydrocarbons. It acts as a dense, impenetrable plug, stopping the flow and giving us a dry work zone.
Step 2: Prepping the Metal
Once the leak is stopped, you need adhesion. Carefully scuff the bare metal around your “soap plug” with coarse sandpaper. Then, wipe the surrounding area with a solvent (be extremely careful not to wash the soap out of the puncture itself).
Step 3: Mixing the Epoxy
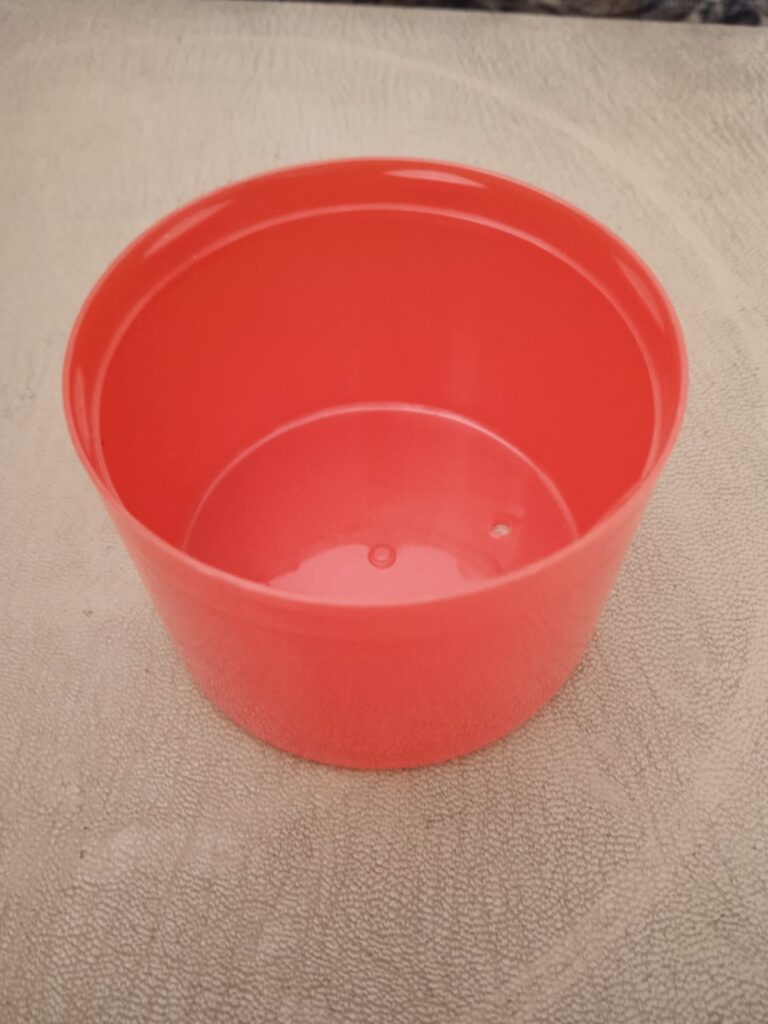
For this repair, I use the legendary J-B Weld. Grab a convenient disposable mixing tray—I usually just use an upside-down plastic cap from an old aerosol can. Squeeze out equal parts of the steel and hardener tubes and mix them quickly and thoroughly. Keep basic epoxy polymer principles in mind: the mixture will start setting up soon, so you need to act efficiently.
Step 4: The Cotton Composite Armor
Epoxy alone can crack and flake off due to the constant vibration of the car’s chassis. It needs heavy-duty reinforcement.
- Apply a base layer of J-B Weld directly over the soap plug and the scuffed metal.
- Tightly stretch a patch of heavy cotton cloth over the wet epoxy.
- Apply a second, generous layer of J-B Weld over the top, aggressively rubbing the epoxy into the fabric fibers.
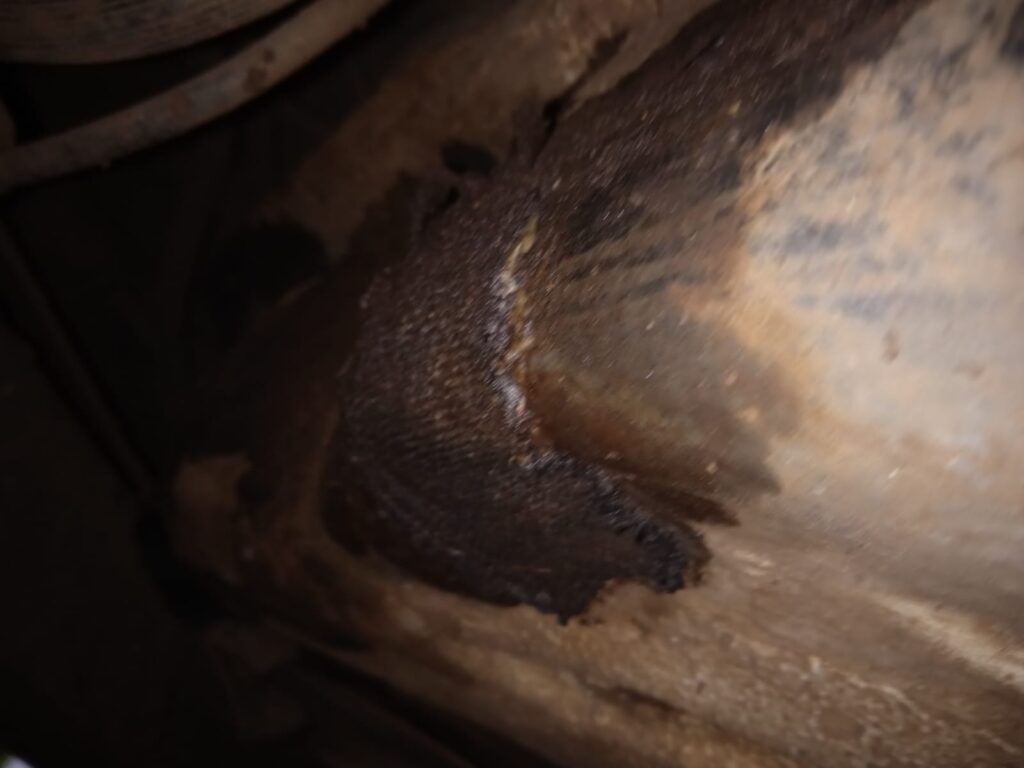
What you get is a homemade composite material. The cotton cloth acts exactly like fiberglass, preventing the cold weld from cracking under the stress and vibration of the gas tank while driving.
The Crash Test Verdict
The AI is 100% correct that a proper weld is the safest, most permanent solution. But in extreme conditions, a garage-made composite of bar soap, J-B Weld, and cotton cloth proves to be a rock-solid lifesaver. This is exactly the kind of scenario where practical physics and a hands-on understanding of materials beat the AI’s textbook instructions every time.
Oleg, SoftHunterPro — Tested in the garage, not just on the screen.
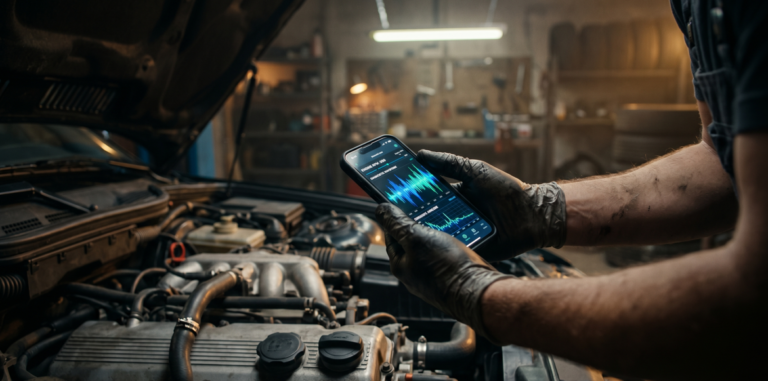
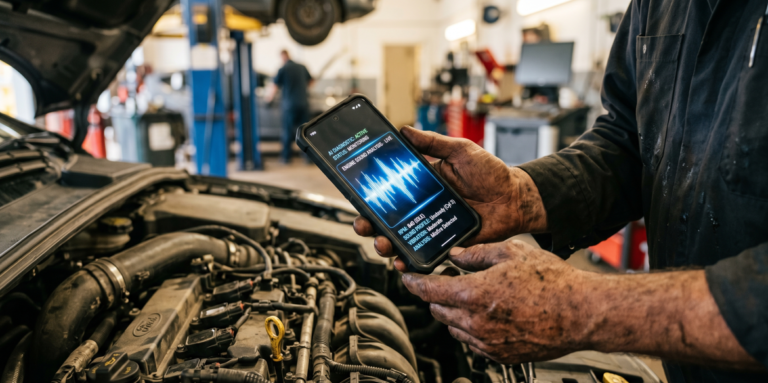
Now that your fuel leak is patched and you’re ready to drive, it’s time to check what else is going on under the hood. If you’re hearing strange engine knocks, see what happened when we stress-tested a [car noise diagnostic tool] in our latest AI-Garage experiment.