World Cup 2026 Backyard Cinema: How I Built a Quick Outdoor Projector Chair Using a Cutlist App
Disclaimer: The information provided on SoftHunterPro is for educational and DIY entertainment purposes. Always practice proper workshop safety and wear protective gear when operating power tools. This post contains affiliate links; we may earn a small commission at no extra cost to you if you purchase gear through them.
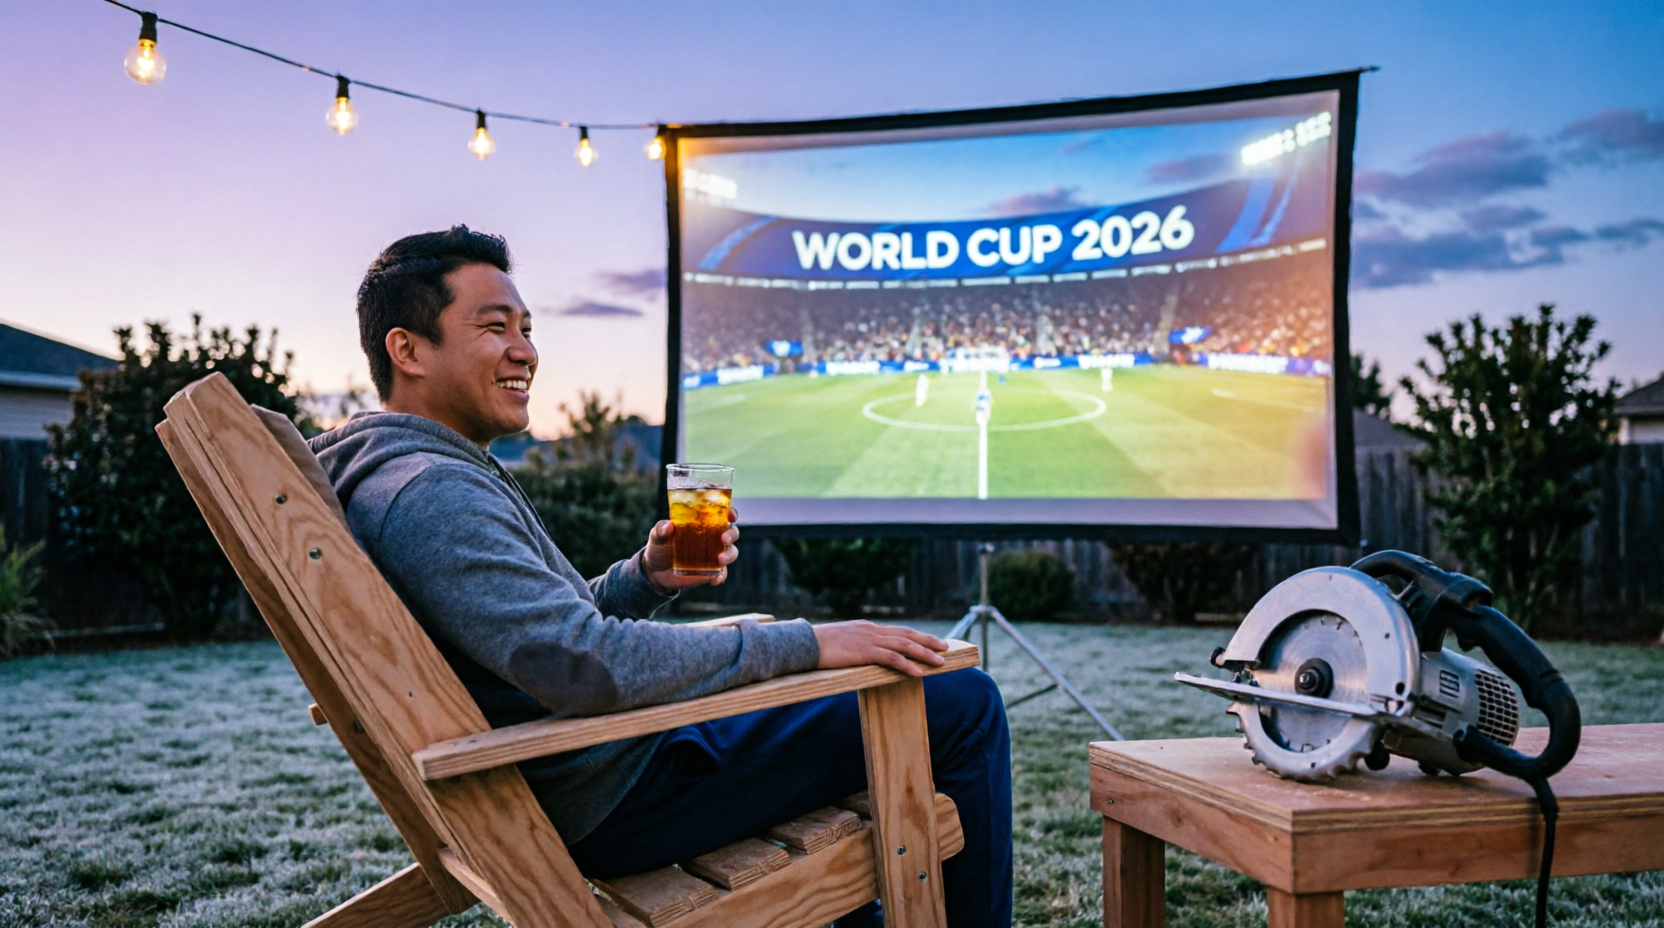
Plywood Cutlist App. The FIFA World Cup 2026 is just days away, and with matches hosted right here in North America, soccer fever is hitting an all-time high. If you are skipping the crowded sports bars to set up a massive outdoor projector screen in your backyard or garage driveway, you have the video tech covered. But what about the seating?
Plastic lawn chairs won’t cut it for a 90-minute match, and dragging your living room sofa outside is a recipe for disaster.
I needed a heavy-duty, ergonomic, comfortable outdoor lounge chair—and I needed to build it fast, with zero wasted materials. Here is how I used a smart sheet layout optimization app to turn a single sheet of plywood into the ultimate World Cup viewing throne in less than two hours.
The Concept: The One-Sheet Plywood Challenge
The goal was simple: design an ergonomic, low-profile outdoor chair with a reclined back (perfect for looking up at a projector screen) using exactly one 4×8 sheet of 3/4-inch exterior-grade plywood.
“If you don’t have a specific chair design in mind yet, you can easily pull inspiration from the internet. Check out my previous guide on [how to build furniture from a picture using AI-generated plans] before you start cutting.”
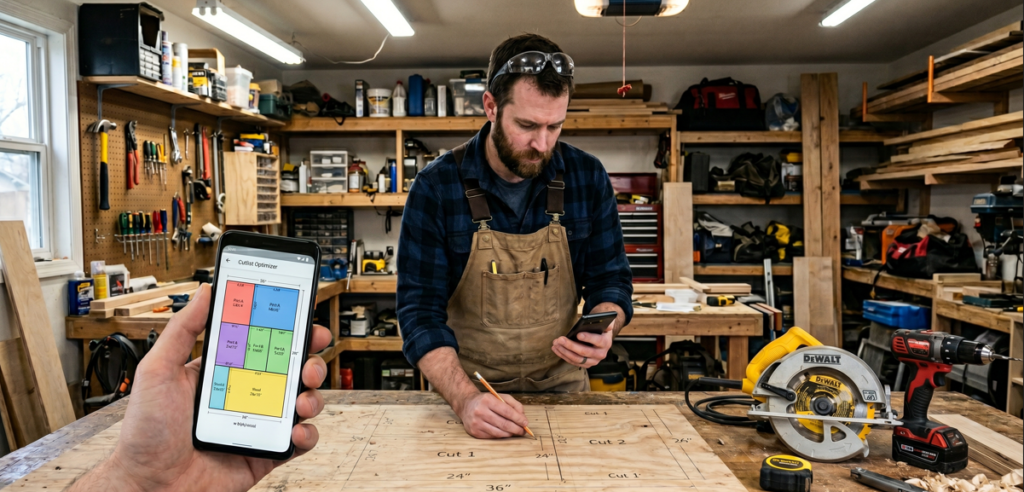
To make this a true no-nonsense engineering project, I didn’t want to spend hours guessing dimensions or sketching cuts on paper, risking bad lines and wasted wood Instead, I fed my structural dimensions into a digital cutlist optimization app.
Why a Cutlist Optimizer App is a Game-Changer:
- Zero Waste: The algorithm calculates the most efficient way to arrange your parts on the sheet, accounting for the saw blade width (kerf).
- Instant Cut Map: It generates a step-by-step visual map showing exactly where to make your rip cuts first.
- Time Saver: You measure once, cut everything in one session, and assembly fits together like LEGO blocks.
Essential Hardware for the Build
To get this chair ready before the opening whistle blows, you will need a few solid tools in your garage shop. Here is the exact setup I used:
- [DEWALT 20V MAX Circular Saw] – Perfect for making long, straight rip cuts through thick 3/4-inch plywood without dragging extension cords across the yard.
- [Kreg Pocket Hole Jig 320] – The cleanest way to join the structural frames without having ugly screw heads visible on the outside of your chair.
- [Gorilla 2-Ounce Waterproof Polyurethane Glue] – Absolute mandatory requirement for any furniture staying outdoors. It expands into the joints and protects against rain and morning dew.
Step-by-Step Build Log
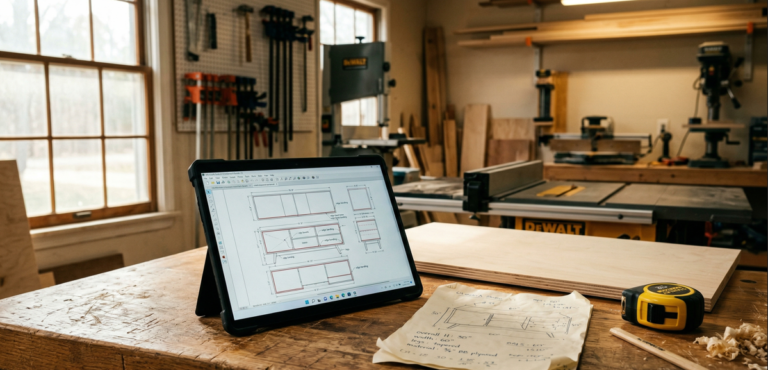
Step 1: Generating the Map
I opened my preferred layout app, inputted a sheet size of $48 \times 96 \text{ inches}$, and added my parts list: two contoured side profiles, a supportive seat panel, a high backrest panel, and four heavy-duty bracing cleats. Within three seconds, the app spit out a perfect graphical blueprint using 92% of the sheet with almost zero scrap.
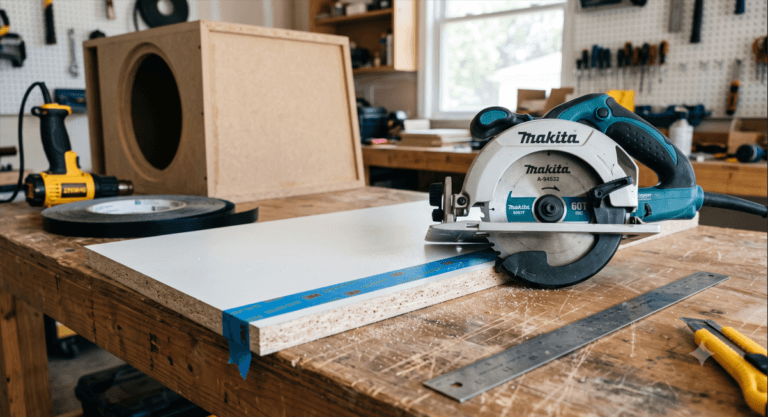
Step 2: Breaking Down the Sheet
Following the app’s visual guide, I laid the plywood sheet down on a couple of sacrificial 2x4s on my garage floor. Using a circular saw and a straight-edge guide, I made the primary rip cuts. Thanks to the app’s optimized sequence, I didn’t have to keep rotating a heavy sheet of wood—everything flowed logically from one end to the other.
Step 3: Assembly & Ergonomics
Using pocket holes drilled on the inside faces of the seat and back support, I locked the main panels to the side frames.
Pro-Tip for Projector Viewing: The backrest should be angled at roughly $105^\circ \text{ to } 110^\circ$. This slight tilt lets you relax your neck completely while maintaining a perfect line of sight to a screen mounted 5 to 6 feet off the ground.
The Layout Blueprint Comparison
| Phase | Traditional “Measure & Guess” Method | App-Optimized Layout Method |
| Planning Time | 45+ minutes with paper and calculator | 3 minutes via digital algorithm |
| Material Yield | High risk of running out of wood or buying an extra sheet | Guaranteed fit on a single 4×8 sheet |
| Cut Sequence | Chaotic, constant re-measuring | Linear, highly efficient workflow |
| Total Build Time | Around 4 to 5 hours | Under 2 hours from sheet to completion |
Plywood Cutlist App. Final Game-Day Preparations
Once the assembly was solid, I quickly broke the sharp edges with 120-grit sandpaper and slapped on a coat of exterior deck sealer to protect it from brewing summer storms. Throw in a couple of weather-resistant outdoor cushions, mount a cup holder to the armrest, and you have a commercial-grade stadium seat right on your lawn.
Thanks to a simple layout app, my backyard stadium is officially open for the World Cup 2026. Grab your plywood, fire up your cutting app, and build yours before the tournament kicks off!
Need to cut plywood? Use our Free Cut Optimizer – tested on 1000+ sheets, better than CutList Optimizer for quick jobs.