Second Life for Old Photos: How AI Turns “Blurry Mess” into 4K Masterpieces
In 2026, “family photos” aren’t just clutter in a shoebox anymore. They’re proof. Proof that your grandparents were real people with real expressions, real style, real chaos—and that your family story didn’t start with an iPhone camera.
The problem is obvious: most old pictures are a cocktail of blur, dust, scratches, low resolution, and questionable lighting choices from 1973. The emotional value is huge, but the visual quality is… not. That’s why AI photo restoration has become a cornerstone of modern digital heritage. Not just for nostalgia, but for documentation: genealogy projects, memorial videos, museum archives, and family history channels on YouTube and TikTok.
Today’s complete AI photo restoration workflow can:
- Restore damage (scratches, noise, compression artifacts)
- Upscale to crisp 4K-level detail
- Colorize (carefully, and ideally with human oversight)
- Animate faces naturally (blink, smile, subtle motion)
- Add narration and subtitles for shareable “before/after” storytelling
In this guide, we’ll build a full stack—from restoration to animation to viral-ready publishing—without turning your relatives into plastic-looking AI mannequins.
Section 1 (The Foundation): Best tools for upscaling and restoration
If your base image is trash, your final animation will be trash in motion. The foundation is restoration + upscaling—done with restraint. Your goal is to recover detail that plausibly exists, not to invent a new face.
Tool #1: Magnific AI for “wow factor” upscales
Magnific AI is known for dramatic enhancement. It can push a tiny, blurry scan into something that looks like a modern portrait—sometimes too modern. That’s why it’s perfect for:
- Extremely low-res photos (small scans, old phone captures of prints)
- Hero images (the “main character” photo for your family story video)
- Creating a sharper base for animation tools (less flicker, more stable features)
Best practice: Use conservative settings first. Overcooking detail can create fake eyelashes, waxy skin, and “AI pores.” If the subject is historical, realism beats perfection.
Tool #2: Topaz Photo AI for clean, realistic restoration
Topaz Photo AI is the workhorse for restoration because it’s strong at:
- De-noise (removing grain without destroying faces)
- Sharpen (fixing motion blur and soft focus)
- Upscale to large sizes while keeping results believable
If you’re building a professional workflow for clients, archives, or serious genealogy documentation, Topaz Photo AI is often the safer “default” than ultra-aggressive enhancers.
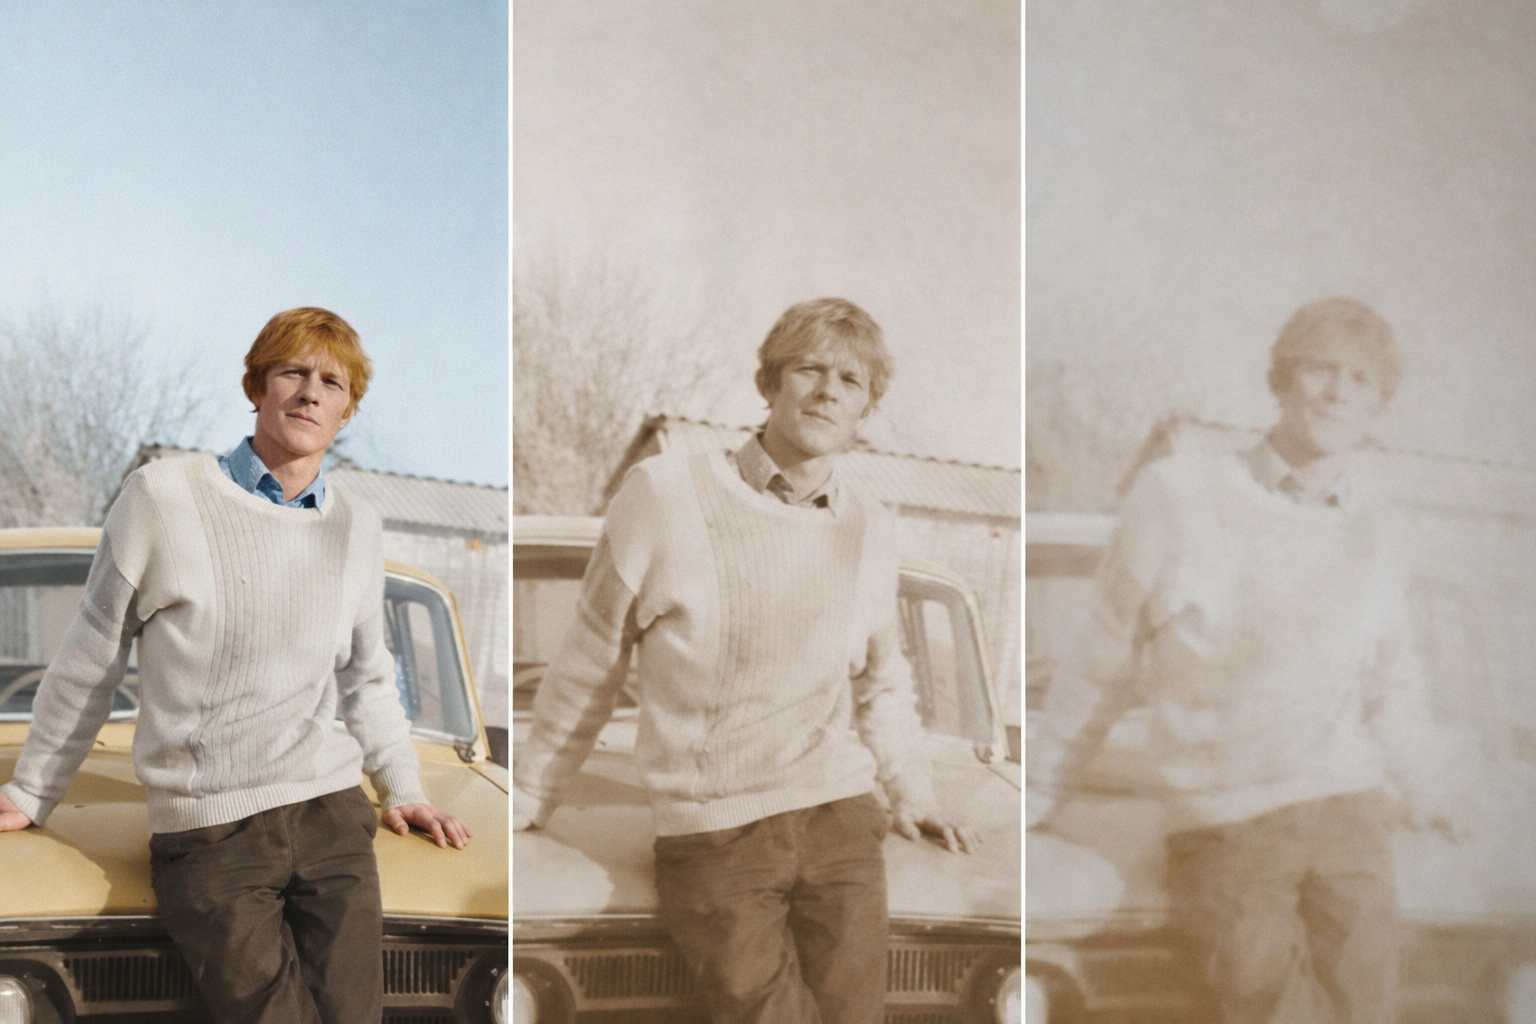
A simple 4K restoration workflow (that doesn’t look fake)
- Scan correctly: 600 DPI if possible (yes, it matters).
- Clean first: Run Topaz Photo AI for noise + blur correction.
- Upscale second: Either upscale in Topaz or do a controlled upscale in Magnific AI.
- Face sanity check: Zoom in on eyes, teeth, hairline. If anything looks “invented,” roll back settings.
- Export high-res: Save a master file before animation (PNG/TIFF if you’re serious).
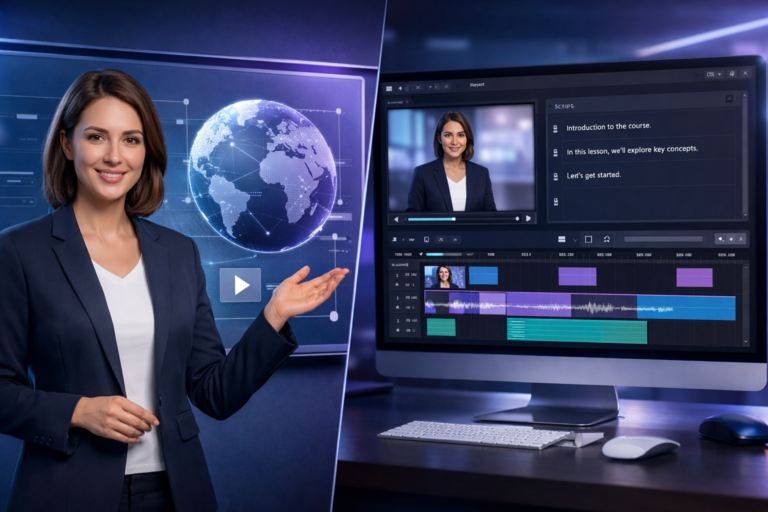
Section 2 (Giving a Voice): How to use ai photo to video avatar for genealogy projects
Restoration gives you clarity. Animation gives you presence.
The real magic in 2026 is creating an ai photo to video avatar for genealogy projects—a respectful, documentary-style animation where a restored photo subtly speaks or reacts while narration explains the person’s story. This is especially powerful for:
- Family reunion videos
- Memorial tributes
- Ancestry presentations
- History-focused TikTok/Reels series
- Museum or local archive social posts
What makes a “genealogy-safe” AI avatar?
For historical content, the standard is different than marketing avatars. You want:
- Minimal motion (blink, slight head movement, subtle smile)
- Accurate facial structure (no beautification filters)
- Clear audio (narration that sounds human, not robotic)
- Disclosure when published publicly (simple, honest)
Pro tip: Write scripts in first-person only if your family is comfortable with it. Otherwise, third-person narration (“This is my great-grandfather…”) feels more documentary and less uncanny.
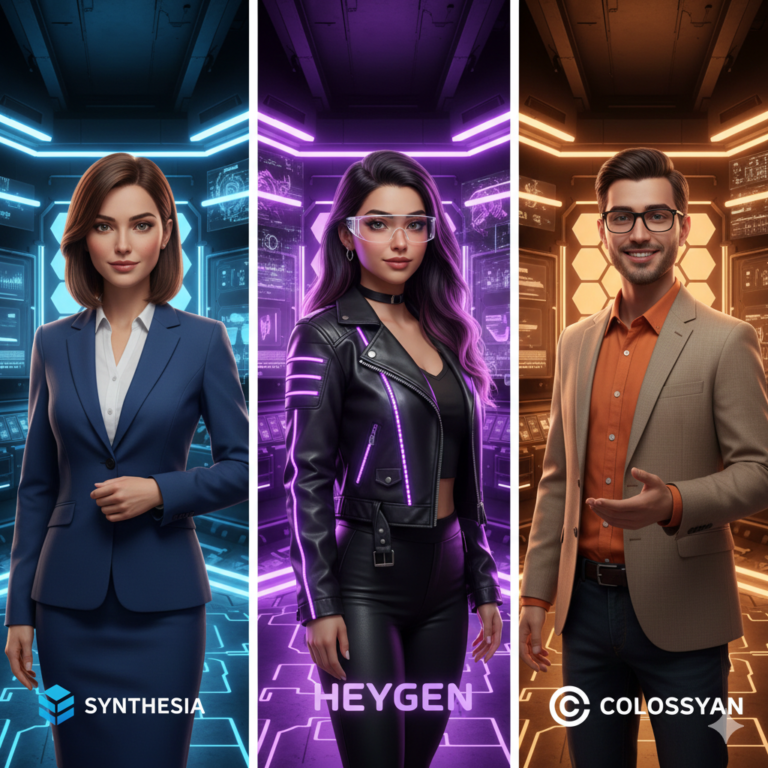
Section 3 (Comparison): A deep dive into synesthesia ai vs heygen for historical photo animation
This is where creators get picky—and they should. Not all animation tools treat old photos kindly.
Let’s talk about synesthesia ai vs heygen for historical photo animation (and yes, people really search it that way). Both can animate a face and sync speech, but they shine in different scenarios.
HeyGen: Best for “talking photo” presentation + creator workflow
HeyGen is popular because it’s streamlined: upload an image, add voice, generate a speaking clip. It’s built for creators and marketers, which can be an advantage when you want fast production and consistent results.
Use HeyGen when:
- You want a clean “photo speaks to camera” style clip
- You’re producing a series (same look every time)
- You want quick language/voice options for narration
Synthesia (often misspelled as “synesthesia”): Best for structured, corporate-style storytelling
Many people type “Synesthesia AI,” but they usually mean Synthesia—a well-known platform for AI presenters. For historical photo animation, it’s typically better when you want a more formal presentation style, especially for educational or museum-like content.
Use Synthesia when:
- You’re building an educational timeline video
- You prefer a structured, presentation vibe
- You want fewer “social media” aesthetics
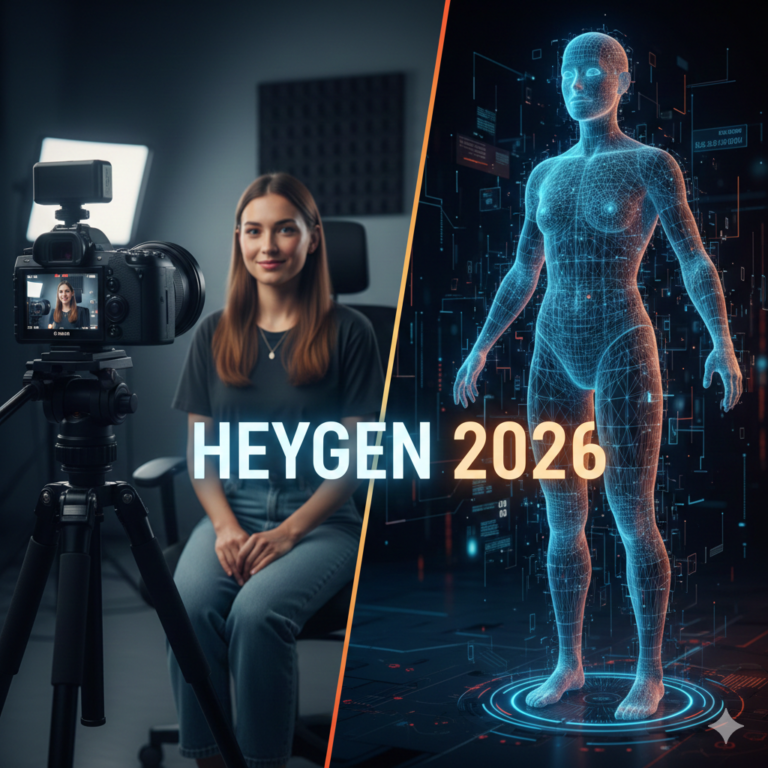
Mini-tutorial: how to make old photos talk with heygen
Here’s a simple, repeatable process for how to make old photos talk with heygen without making it look like a deepfake fever dream.
- Step 1 — Restore first: Use Topaz Photo AI for cleanup and a natural upscale. (Don’t animate a blurry face.)
- Step 2 — Crop smart: Keep the face large in frame. Aim for shoulders-up. Avoid tiny faces in wide group shots.
- Step 3 — Upload to HeyGen: Choose the “talking photo/avatar from image” workflow.
- Step 4 — Add voice: Use a calm narration voice. If you’re using voice cloning, keep it respectful and disclose publicly.
- Step 5 — Keep motion subtle: If there’s an intensity slider, lower it. Historical photos look best with gentle movement.
- Step 6 — Export in high quality: Export the highest resolution available, then you can reframe in your editor.
Reality check: The oldest, lowest-quality photos can produce mouth artifacts. If that happens, reduce speech intensity, shorten lines, or switch to a “Ken Burns + narration” style for that particular image.
Section 4 (The Big Picture): Step-by-step on how to convert old family album into video with fliki ai
Once you have 10–50 restored images, the next level is packaging them into a story. That’s where Fliki shines: it’s fast for turning a set of visuals into a narrated, timed video.
Here’s how to convert old family album into video with fliki ai in a clean, bingeable format.
Step-by-step workflow (album → documentary-style video)
- Step 1 — Sort your photos into chapters: Childhood, wedding, migration, military service, “the old house,” etc.
- Step 2 — Write a short script per photo: 1–3 sentences max. Think captions, not novels.
- Step 3 — Upload restored images: Use your cleaned/upscaled versions (Topaz/Magnific outputs).
- Step 4 — Add narration: Choose a voice that fits the tone—warm and documentary.
- Step 5 — Pace it: Give viewers time to actually look. Old photos need breathing room (3–6 seconds each as a starting point).
- Step 6 — Add light motion: Slow zoom/pan (“Ken Burns”) works beautifully with restored photos.
- Step 7 — Export and edit the final polish: Add music, transitions, and captions in your editor if needed.
Pro tip: Mix formats for retention: a few “talking photo” clips (HeyGen/Synthesia style) + mostly slow documentary pans. That combination keeps it emotional without becoming uncanny.
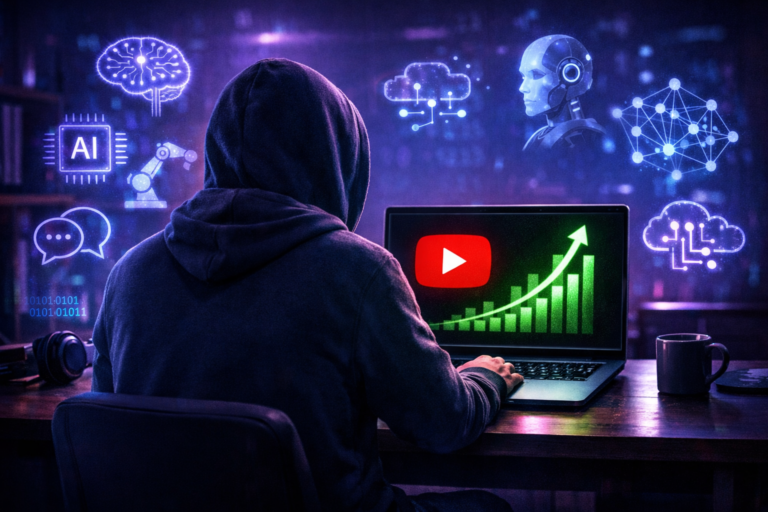
Section 5 (Viral Ready): Why you should use the best subtitles for ai restoration case studies submagic to showcase results on TikTok/Reels
If you’re posting restoration content, your visuals already do the heavy lifting. But captions are what make it perform.
Short-form audiences often watch muted. Subtitles aren’t optional—they’re your hook delivery system. That’s why creators search for the best subtitles for ai restoration case studies submagic: they want captions that look native to TikTok/Reels and keep attention locked.
Why Submagic works for restoration case studies
- Fast, clean subtitle generation for narration-heavy clips
- Modern caption styling that feels like creator content, not corporate training
- Perfect for “Before → After → Process” mini-documentaries
A proven “case study” short format (30–45 seconds)
- 0–2s: Hook text: “This photo is from 1942. Look at the detail now.”
- 2–10s: Show the “before” (brief, but clear)
- 10–25s: Reveal the restored 4K version
- 25–40s: Quick process montage (Topaz → Magnific → animation)
- 40–45s: CTA: “Want the full family album video?”
Add subtitles with Submagic, and you’ve turned your restoration into a bingeable, repeatable content series instead of a one-off “cool result.”
Conclusion: The professional AI photo restoration workflow tech stack… (2026 workflow)
If you want a reliable, professional pipeline that produces emotional, high-quality results, here’s the stack:
- Restore + Clean: Topaz Photo AI (realistic detail recovery)
- Push to 4K “hero” quality: Magnific AI (use carefully)
- Animate + Voice: HeyGen (fast talking-photo workflow) or Synthesia for structured presentation
- Album → Story Video: Fliki for narration + pacing
- Publish-ready captions: Submagic for short-form subtitles
The bigger point: you’re not just “enhancing images.” You’re preserving identity. Done responsibly, AI restoration in 2026 is one of the most practical ways to keep family history alive—and make it shareable for the next generation.
FAQ (People Also Ask optimized)
1) What is the best AI tool to restore old photos to 4K quality?
For a realistic workflow, Topaz Photo AI is a strong foundation for cleaning and sharpening, while Magnific AI can push dramatic upscales for “hero” photos when used conservatively.
2) Is it possible to animate old family photos without making them look fake?
Yes. The key is subtle motion, a high-quality restored base image, and short lines of dialogue. For genealogy-style projects, minimal animation looks more authentic than exaggerated facial movement.
3) How to make old photos talk with HeyGen?
Restore the photo first (remove blur/noise), crop to a clear face shot, upload to HeyGen using the talking-photo workflow, add narration, keep motion intensity low, and export at the highest available quality.
4) How do I convert an old family album into a video with Fliki AI?
Organize photos into chapters, write 1–3 sentences per image, upload restored pictures to Fliki, add narration, set pacing (3–6 seconds per image), apply gentle zoom/pan, then export and polish with music/captions.
5) What are the best subtitles for AI restoration case studies?
For TikTok/Reels style results, tools like Submagic are popular because they generate clean, modern subtitles quickly—ideal for “before/after/process” restoration videos.
“Disclosure: This post contains affiliate links. If you make a purchase through these links, I may earn a commission at no extra cost to you. I only recommend tools I personally trust.”